Contents
The Importance of Having a Security System Installed
Home security should be a top priority for all homeowners. A security system offers peace of mind and helps protect your loved ones and property from burglaries, break-ins, and other threats.
Installing a security system can also lower your insurance premiums while adding value to your home. Having a security system also acts as a deterrent for potential intruders, as most burglars will avoid homes with visible security systems.
In addition to deterring crime, modern-day home security systems provide added convenience and accessibility. With the ability to monitor your home from anywhere in the world through your smartphone or other device, you can rest easy knowing that your home is always protected.
A Brief Overview of the Steps Involved in Installing a Security System
Installing a home security system may seem daunting at first, but it’s actually quite manageable as long as you have the right tools and instructions. The basic steps involved in installing a security system are:
1. Assessing Your Needs – Determine which areas of your property need coverage and what type of system best suits those needs.
2. Choosing Your Equipment – Consider factors such as budget, features, compatibility when choosing equipment.
3. Preparing for Installation – Gather necessary tools and materials such as screwdrivers, drills; checking power sources; internet connectivity; etc.
4. Installing Equipment – Mount cameras & sensors according to manufacturer’s instructions; connect wires or set up wireless connections; set up control panel/programming settings.
5. Testing & Troubleshooting – Test each component after installation to ensure proper functioning; troubleshoot common issues that may arise during installation. Now that we have established the importance of having a home security system installed let’s move on with step 1 where we assess our needs and determine which areas of our property need coverage and what type of system is best suited to those needs.
Assessing Your Needs
Determining What Areas Need to be Covered
When it comes to protecting your home or business, it’s important to determine which areas need the most coverage. This can vary depending on the structure and layout of your property. For example, if you have a large backyard with multiple entry points, you may want to install cameras or sensors around the perimeter.
Alternatively, if you have valuable items in a specific room, such as an office or storage space, you may want a camera pointed specifically at that area. It’s also important to consider any blind spots where intruders could enter undetected.
This might include areas with poor lighting or areas that can’t be easily seen from inside the house. Walk around your property and try to identify any potential entry points that could be vulnerable.
Deciding on the Best Type of Security System
Once you’ve identified which areas need coverage, it’s time to decide on the type of security system that will work best for your needs. There are three main types: wired systems, wireless systems, and DIY systems.
Wired systems require running wires through walls and ceilings in order to connect all of the components together. While this can be more time-consuming and labor-intensive than other types of systems, it also tends to be more reliable since there is no risk of interference from other wireless signals.
Wireless systems are becoming increasingly popular because they are easy to install and can be controlled remotely via a smartphone app. These systems use Wi-Fi or cellular connections instead of physical wires for communication between components.
DIY (do-it-yourself) security systems are designed for those who want a simpler setup process without having to pay for professional installation services. These typically come with pre-configured components that can be easily installed using step-by-step instructions provided by the manufacturer.
Ultimately, the type of security system you choose will depend on your budget, level of technical expertise, and specific needs. Consider all of these factors before making a final decision.
Choosing Your Equipment
Overview of Different Types of Equipment
When it comes to choosing equipment for your security system, there are a wide variety of options available. Cameras, sensors, alarms, and more – each type of equipment serves a specific purpose to keep your property safe. Let’s take a closer look at some of the most popular types of security equipment you may consider installing.
First up are cameras. These are among the most common types of security equipment, and with good reason – they can capture footage of potential intruders or other suspicious activity.
There are many different types of cameras available on the market today, from traditional wired models to modern wireless options that connect to your Wi-Fi network. You’ll want to consider factors like resolution (HD or 4K?), field of view (how much area does each camera cover?), and connectivity when choosing cameras for your system.
Next on the list are sensors. These devices can detect motion or changes in temperature, alerting you if someone is entering your home or if there is a fire hazard present.
There are many different types of sensors available depending on what kind of threats you want to monitor for – for example, door/window sensors can detect if someone is trying to break in through those entry points. We have alarms.
These can come in many different forms – from loud sirens that sound off when an intruder is detected to silent alarms that alert authorities discreetly without tipping off any potential criminals. Alarms can be triggered by many different things depending on how they’re set up – some may go off when motion is detected by a sensor while others might sound only if a door or window is opened.
Factors to Consider When Choosing Equipment
Now that we’ve covered some basic information about the kinds of security equipment available out there, it’s time to talk about how you can choose which ones are right for your needs. There are a few key factors to consider when making this decision. First and foremost is budget.
How much money are you willing to spend on your security system? This will determine the types of equipment you can afford and how many different components you can install.
Another important factor is features. What specific features do you want your security system to have?
Do you want cameras that can pan and tilt or ones that have night vision capabilities? Do you want motion sensors that can detect both motion and temperature changes, or just one of these things?
Compatibility is also a consideration. You’ll want to make sure all the different pieces of equipment in your system work together seamlessly – for example, if you buy cameras from one brand and sensors from another, will they be able to communicate with each other properly?
Ease of installation may also be something worth considering depending on your DIY skills – some types of equipment may require professional installation while others can easily be set up by the homeowner themselves. Keep in mind any additional features or services that come with certain brands or models of security equipment – some may offer remote monitoring capabilities through an app or website, while others might come with a warranty or technical support service included.
Preparing for Installation
Gathering necessary tools and materials
Before starting the installation process, make sure you have all the tools and materials you need to complete the job. Some of the essential tools include a drill, screwdriver, wire cutter/stripper, and a ladder.
You will also need to make sure that you have all of the equipment that came with your security system, including cameras, sensors, and cables. In addition to these tools, it’s important to gather any additional materials you may need.
For example, if you’re installing a wired security system, you may need additional cables or connectors. If you’re installing outdoor cameras or sensors, make sure you purchase weather-resistant housing or covers.
Checking power sources and internet connectivity
Once you’ve gathered all of your tools and materials, it’s time to check your power sources and internet connectivity. Most security systems require an internet connection so that they can be monitored remotely through a smartphone app or website. If your security system is wireless, make sure that your Wi-Fi signal is strong enough in all areas where cameras or sensors will be installed.
You may need to invest in additional Wi-Fi extenders or boosters if there are weak spots in your home’s wireless coverage. For wired systems that require power outlets for cameras or control panels, make sure that electrical outlets are available in the areas where they will be installed.
If there aren’t any outlets nearby, consider hiring an electrician to install new ones. It’s also important to check for any potential obstacles that could interfere with power sources or connectivity.
For example, if there are trees or buildings blocking signals from outdoor cameras/sensors or interfering with electrical wiring routes indoors. By taking these steps before starting installation work on your home security system ensures everything goes smoothly without unnecessary hassle!
Installing Equipment
After assessing your needs and choosing the right equipment, it’s finally time to start installing your security system. This may seem like a daunting task, but don’t worry – we’ve got you covered with step-by-step instructions for each piece of equipment.
Mounting Cameras and Sensors
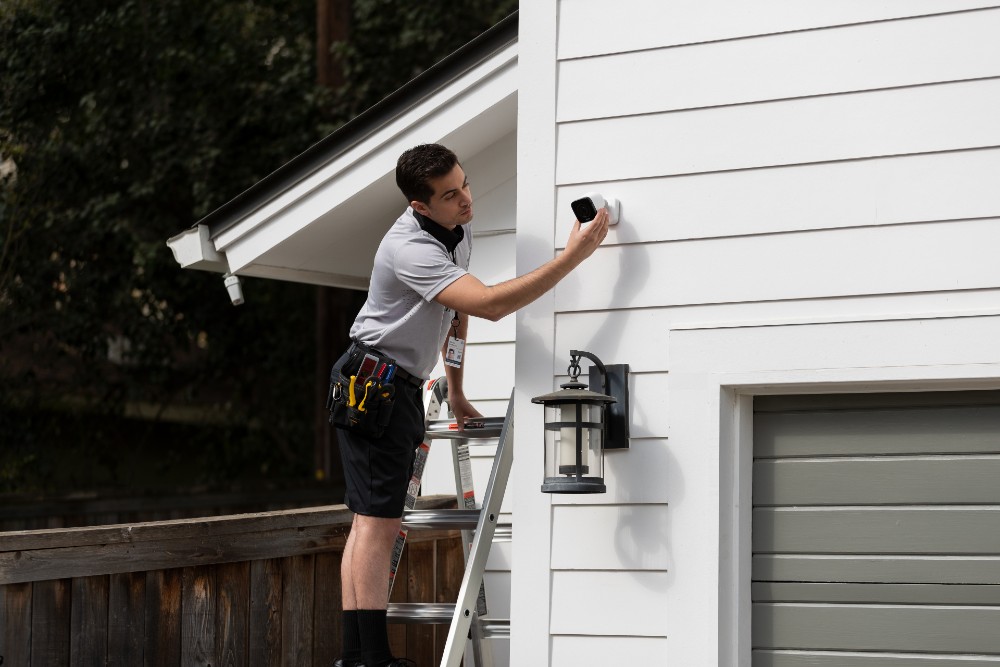
First up, let’s talk about mounting cameras and sensors. Start by deciding on the best location for each camera and sensor. Make sure they cover the areas you want to monitor and are positioned at the right height for optimal viewing.
When mounting cameras, drill holes into the wall or ceiling where you want to position them. Use screws and anchors to secure them in place.
If you’re using wireless cameras, make sure they’re within range of your Wi-Fi network. For sensors, follow manufacturer instructions on how to mount them properly.
Some sensors come with adhesive backing that makes installation quick and easy. Others may require screws or brackets.
Connecting Wires or Setting up Wireless Connections
Next, it’s time to connect wires or set up wireless connections for your equipment. If you have wired cameras or sensors, run cables from each device back to your control panel. For wireless devices, follow manufacturer instructions on how to connect them to your Wi-Fi network.
This usually involves pressing a button on both the device and your Wi-Fi router. If you’re unsure about how to connect any of your devices, consult manufacturer instructions or seek help from a professional installer.
Setting Up Control Panel and Programming Settings
Now that all of your devices are mounted and connected, it’s time to set up your control panel and program settings. Start by plugging in your control panel near an electrical outlet.
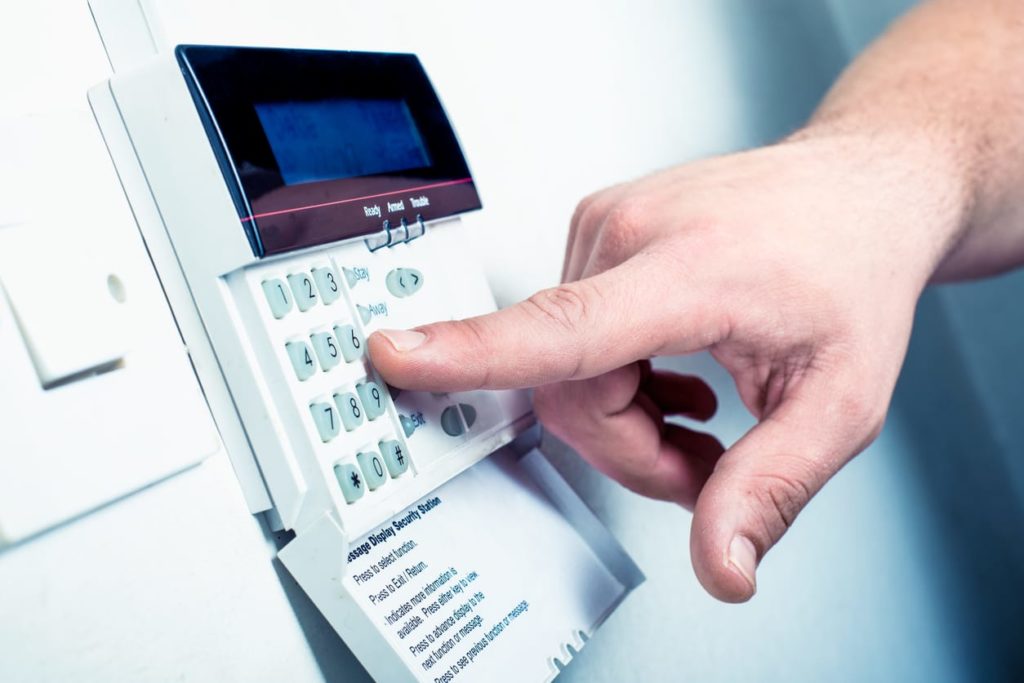
Follow manufacturer instructions on how to connect it to the internet via Ethernet cable or Wi-Fi connection. Once connected, navigate through the menu settings to program your security system.
This may involve setting up alerts, adjusting camera settings, and creating user accounts. Be sure to test each device and setting to ensure they’re working properly before calling it a day.
Pro Tips
– Label all wires and cables so you know which device they belong to. – Consider covering wires or cables with cable management solutions for a cleaner look. – Don’t hesitate to seek help from a professional installer if you’re unsure about any aspect of installation.
Testing and Troubleshooting
After you have completed the installation of your security system, it is essential to test each component to ensure that it is working correctly. This step is crucial because it will help uncover any issues or malfunctions before they arise when you need your system the most. Here are the steps that you can take to test your security system:
Testing each component
To test each component of your security system, start by checking if all the connections are secure and correctly wired. Then, move on to testing each piece of equipment individually. Begin by testing the control panel, followed by testing all cameras and sensors associated with your system.
You can test cameras by checking if they are receiving power and displaying a clear image on connected devices. Test sensors by triggering them manually and ensuring that they send a signal to the control panel accurately.
If you find that any components are not working correctly, troubleshoot them immediately before moving on to monitor your home’s security. It’s also important to make sure all equipment is properly positioned for maximum coverage.
Troubleshooting common issues
If an issue arises during installation or testing, there may be several reasons why things aren’t working as planned. Here are some common problems that may arise during installation:
No power supply:
If a camera or sensor does not have enough power supplied, it may not function properly or at all. To fix this issue, check the wiring connection and power supply source for loose connections or malfunctions.
Poor internet connectivity:
Inadequate internet connectivity can prevent certain wireless components from communicating with each other effectively. To overcome this issue, try changing the location of signal receivers (e.g., routers) or purchasing signal boosters to improve coverage.
Incorrect placement:
Make sure that each camera and sensor is placed correctly to ensure maximum coverage. Consider the range of motion of your cameras and the detection radius of your sensors, as well as any potential obstructions such as thick walls or corners. Adjust positioning if necessary.
Misconfiguration:
If you have programmed the security system incorrectly, issues with false alarms or malfunctioning alarms may arise. To troubleshoot this issue, refer to the user’s manual for instructions on reprogramming settings or get in touch with customer support for assistance. By testing each component and troubleshooting common issues before starting to use your security system, you can ensure that it is functioning correctly, providing you with reliable coverage and peace of mind.
Monitoring and Maintenance
Keeping an Eye on Things: Monitoring Your Security System
Once your security system is installed, it’s important to monitor it regularly to make sure it’s working correctly. Many modern security systems allow you to monitor them remotely via a smartphone app or web portal.
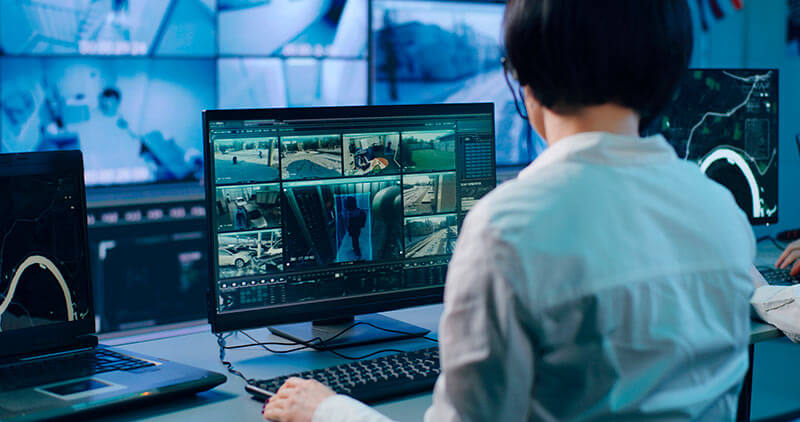
This allows you to stay connected with your system even when you’re away from home. You’ll be able to see live video feeds from your cameras, receive alerts when motion is detected, and even control some aspects of the system remotely.
If you choose a monitoring service for your security system, they will also keep track of any security events that occur in your home or property. If the alarm goes off, they will notify you and dispatch emergency services if necessary.
Maintenance Tips for Long-Lasting Security
To keep your security system working at its best, there are a few maintenance tasks you should perform regularly: Firstly, make sure that all cameras and sensors are clean and free of obstructions. Dust can accumulate on lenses over time, which can reduce their effectiveness.
And if plants or other objects grow in front of sensors, they may not trigger properly. Secondly, check the batteries in all wireless components (if applicable) regularly.
Many modern systems will alert you if the battery level gets low but it’s still wise to check periodically. Make sure that all components are securely fastened in place.
There’s no point having a camera pointing at an empty corner because it has been knocked out of alignment by wind or other factors. By following these simple tips, you’ll ensure that your security system provides reliable protection for years to come.
Conclusion
Installing a security system may seem like a daunting task at first but as we’ve seen in this guide, it’s actually quite straightforward with some careful planning and attention to detail. By assessing your needs, choosing the right equipment, installing it correctly, and monitoring and maintaining it regularly, you’ll be able to rest easy knowing that your home or property is well protected. Whether you’re looking to deter burglars or just keep an eye on your family while you’re away from home, a security system is a wise investment.
So why not take the first step today and get started on installing one in your own home? With these tips in mind, you’ll be able to install a security system with confidence, knowing that you’re doing everything possible to keep yourself and your loved ones safe.


