Contents
The Importance of a Wireless Security Camera System in Your Home
When it comes to our homes, we want to ensure that they are safe and secure. Protecting our loved ones and belongings from potential threats is a top priority for many homeowners.
One way to achieve this is by installing a wireless security camera system. Having a wireless security camera system in your home can provide peace of mind knowing that you have an extra layer of protection.
With access to real-time footage and motion detection alerts, you can quickly detect any suspicious activity and take action if necessary. But why choose a wireless system over a wired one?
Well, for starters, wireless systems are much easier to install. With no need for extensive wiring or drilling holes in your walls, setting up your cameras can be done quickly and hassle-free.
Another benefit of a wireless system is the ability to adjust your cameras’ positions as needed without worrying about cords or cables getting in the way. Plus, with Wi-Fi connectivity, you can access live footage remotely from anywhere with an internet connection.
Overall, having a wireless security camera system installed in your home can be an excellent investment for both your safety and peace of mind. In the following sections, we’ll cover everything you need to know about choosing and installing the right system for your needs.
Choosing the Right System
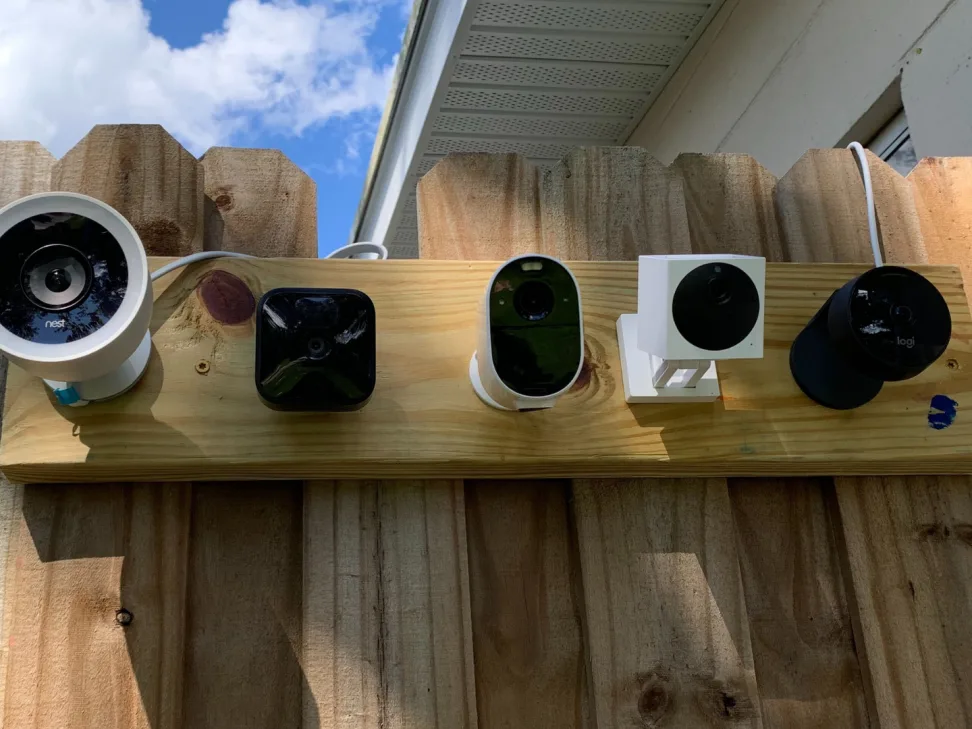
Research Different Types of Wireless Security Camera Systems Available on the Market
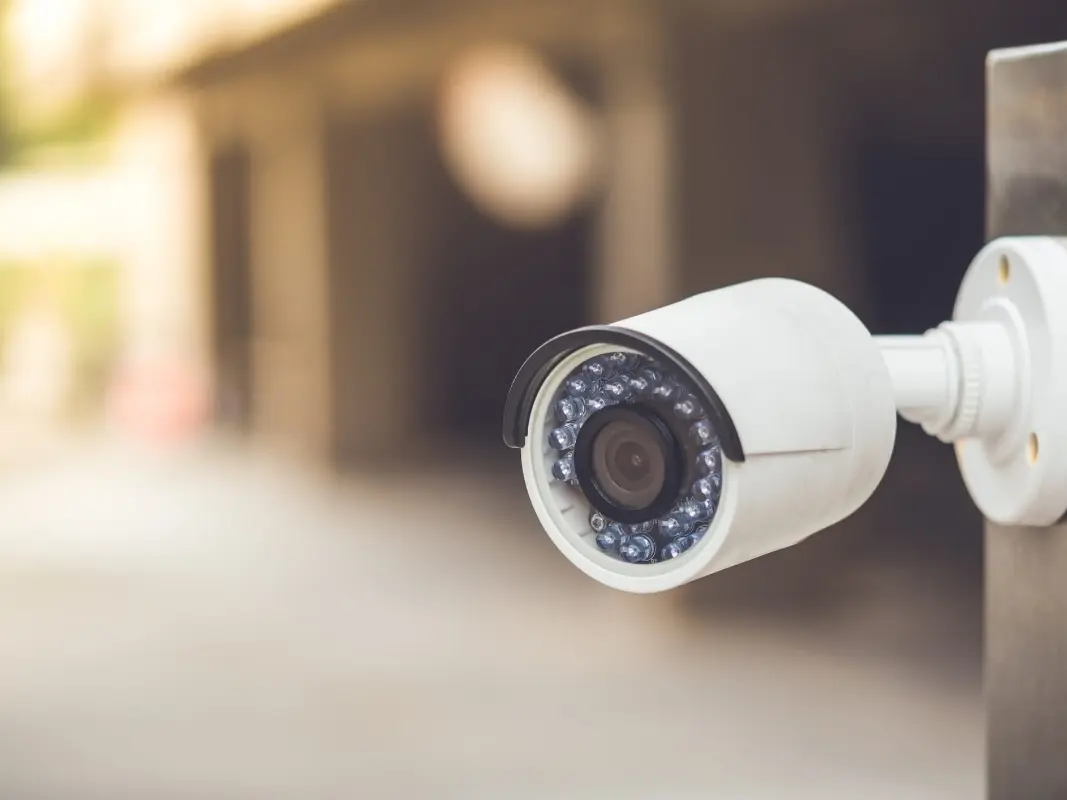
In today’s market, there are a number of different types of wireless security camera systems available. Some of the most common options include standalone cameras, cameras with built-in DVRs, and systems with multiple cameras. Standalone cameras are typically the most affordable option and are ideal for those who only need to monitor a single room or area.
Cameras with built-in DVRs offer greater storage capacity and may be more convenient for some users. Systems with multiple cameras can provide comprehensive coverage for larger properties, such as homes or businesses.
Consider Factors Such as Price, Features, and Ease of Installation When Making Your Decision
When deciding on which wireless security camera system to purchase, it is important to consider a number of factors in order to make an informed decision. One crucial consideration is price: you will want to find a system that meets your needs while also staying within your budget. Additionally, you should take into account any features that might be important to you; for example, you may want a system that offers remote viewing capabilities or high-resolution video recording.
Ease of installation is another key factor when choosing a wireless security camera system. Some systems may require professional installation in order to ensure optimal performance and proper setup.
However, many systems can be installed by homeowners themselves without too much difficulty. If you’re planning on doing the installation yourself, be sure to read reviews and research each system carefully in order to find one that is easy enough for even novice users.
Ultimately, choosing the right wireless security camera system requires careful consideration of your specific needs and goals as well as an understanding of what each system has to offer in terms of features and ease-of-use. With these factors in mind, you’ll be able to find an effective security solution that will keep your home or business safe and secure.
Preparing for Installation
Location, Location, Location
So you’ve decided to install a wireless security camera system. Congratulations!
The first thing you need to do is figure out where you want to place your cameras. This is an important step because it will determine how many cameras you need and what kind of coverage each camera will provide.
Start by walking around the outside of your home and looking for potential entry points that could be vulnerable to intruders. These may include doors, windows, or other areas where someone could easily gain access to your property.
Once you’ve identified these areas, decide on the best locations for your cameras based on their field of view. Remember that your cameras will need access to both power sources and Wi-Fi signals in order to function properly.
If there are areas around your property that don’t have good Wi-Fi coverage, consider investing in a Wi-Fi extender or booster. This will ensure that all of your cameras have a strong signal and can transmit data back to your device without any issues.
Gather Your Tools
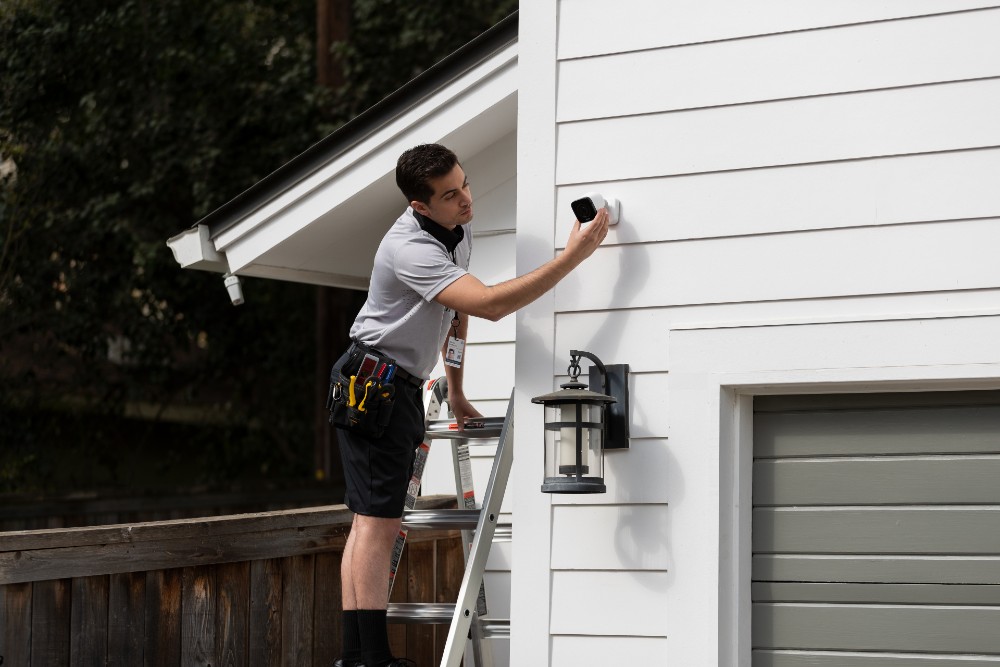
Before beginning the installation process, make sure you have all the necessary tools and equipment at hand. This includes things like a ladder, drill, screws, and mounting brackets for each camera. It’s also important to read through the manufacturer’s instructions carefully before getting started so that you understand exactly what needs to be done at each step of the process.
Some systems may require additional tools or equipment beyond what is included in the initial package. If you’re not comfortable with handling power tools or climbing ladders yourself, it might be worth considering hiring a professional installer who can handle everything for you.
Plan Ahead
One thing many people overlook when installing their own security camera system is planning ahead for future additions or changes they might want to make down the line. Think about whether you might want to add extra cameras later on, or if you might need to move existing cameras to cover different areas of your property. Make sure you leave enough space around each camera so that it can be adjusted easily if necessary.
It’s also a good idea to test your Wi-Fi signal strength at each camera location before beginning the installation process. This will help you avoid any connectivity issues that could arise later on.
Conclusion
Preparing for the installation of a wireless security camera system is an important step in ensuring that your home is properly protected. By taking the time to carefully plan out where your cameras will be located and gathering all necessary tools and equipment, you can make sure that everything goes smoothly during the installation process. Remember to always read through manufacturer’s instructions carefully and consider hiring a professional installer if you’re not comfortable handling power tools or climbing ladders yourself.
Installing Your Cameras
Follow manufacturer instructions for mounting your cameras in the desired locations
Once you have decided on the locations for your cameras, it’s time to mount them. Make sure to read the manufacturer’s instructions thoroughly before starting. You’ll want to ensure that you are familiar with all of the steps involved before beginning installation.
When mounting your cameras, it’s important to consider factors such as the height of each camera and the angle at which it will be pointed. You’ll want to make sure that each camera has a clear view of its intended area and that it is not obstructed by any objects or walls.
If you are mounting your cameras outdoors, be sure to choose a location where they will be protected from harsh weather conditions such as rain and wind. You may also want to consider using weatherproof covers or housings for extra protection.
Connect each camera to your Wi-Fi network using the provided app or software
Once you have mounted your cameras in their desired locations, it’s time to connect them to your Wi-Fi network. Most wireless security camera systems come with their own app or software that allows you to set up and configure each camera individually.
To begin connecting your cameras, open the app or software provided by the manufacturer and follow their instructions for adding a new device. You’ll typically need to enter some basic information such as your Wi-Fi network name and password.
Once you have added each camera, you can customize its settings such as motion detection zones and sensitivity levels. Be sure to test each camera after configuring its settings by walking around in its field of view and making sure that motion detection is working properly.
Overall, installing wireless security cameras in your home can be a bit challenging but is well worth the effort involved. By following these simple steps for installation and configuration, you can ensure that each camera is properly mounted and connected to your Wi-Fi network.
Configuring Your System
Set up motion detection zones and adjust sensitivity levels
Now that you have your cameras installed, it’s time to set up your motion detection zones. This will allow you to focus on the areas that are most important to you, such as entryways or high-value items in your home.
Most cameras come with software that allows you to draw custom motion detection zones on a map of your home. Some may even allow you to save multiple configurations for different times of day or activity levels.
You’ll also want to adjust the sensitivity levels of your motion detection. Too sensitive, and the camera may trigger false alarms from things like small animals or leaves blowing in the wind.
Not sensitive enough, and it may not detect important activity like someone breaking into your home. It’s a delicate balance, but many cameras offer adjustable sensitivity settings so you can customize it to fit your needs.
Configure alerts to notify you when motion is detected or when cameras go offline
One of the key benefits of having a wireless security camera system is being alerted when something happens in your home. Depending on the camera system, there are a few different ways this can work.
Some cameras will send push notifications directly to your phone or tablet when they detect motion in their designated area. Others may send an email with a snapshot from the camera attached so you can see what happened at a glance.
You’ll want to make sure these alerts are configured correctly so that they don’t flood your phone with notifications every time a car drives by on the street. Additionally, it’s important to set up alerts for when cameras go offline.
This could indicate a power outage or Wi-Fi issue and could leave gaps in your surveillance coverage if not addressed promptly. Overall, configuring these settings properly is crucial for getting the most out of your wireless security camera system and keeping yourself informed of any potential threats in your home.
Testing Your System
Testing Field of View
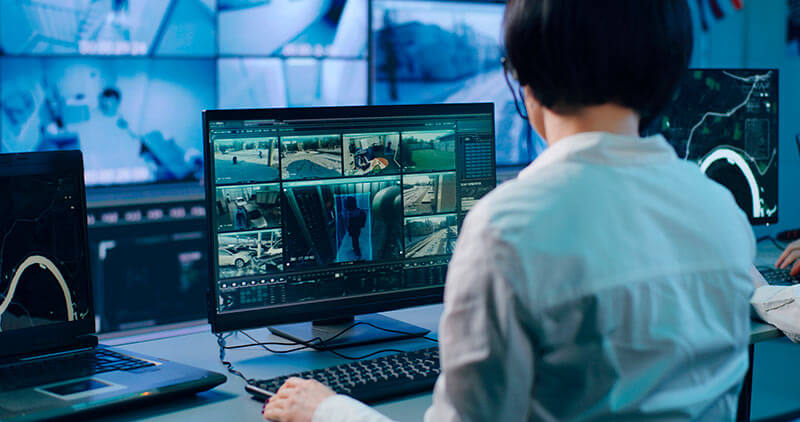
Now that you’ve mounted your cameras, it’s time to make sure they’re capturing the view you want. To test each camera’s field of view, walk around the area it covers while viewing the live feed on your app or software. If there are any blind spots, adjust the camera’s position accordingly.
You want to make sure that all areas you want covered are within each camera’s field of view. It’s also important to test how well the camera captures footage in low light conditions.
Try testing the cameras at different times of day to see how they perform in various lighting situations. If there are issues with visibility, consider adding additional lighting sources or adjusting camera settings to improve image quality.
Checking Alerts and Motion Detection
After confirming your cameras have a good field of view, check that motion detection is working properly by intentionally triggering it. This can be done by walking in front of each camera or waving a hand in front of it while viewing the live feed on your app or software. Check that alerts are being sent properly as well.
This could include push notifications on your phone or emails sent directly to your inbox. Make sure all alerts are going to the correct recipients and that you’re receiving them in a timely manner.
If there are any issues with motion detection or alerts not being sent correctly, check that each camera is connected properly to Wi-Fi and has a strong signal. It may also be helpful to adjust settings for motion detection sensitivity levels if false alarms are occurring frequently.
Maintaining Your System
After installation and testing, it’s important to maintain and regularly check your system for proper functioning. Clean lenses regularly with a soft cloth or lens cleaner solution to remove any dust or debris that might obstruct visibility.
Check for any firmware updates provided by the manufacturer for your camera system and install them as necessary. These updates can often help improve functionality and fix bugs or glitches.
Regularly check that all cameras are still connected to Wi-Fi and that motion detection and alerts are still working properly. In the event of any issues, refer back to manufacturer instructions or contact customer support for assistance.
Conclusion
With a wireless security camera system installed and tested, you can now rest assured that your home is protected from potential intruders or other threats. Regular maintenance and testing will help ensure your system continues to function properly in the future. By following these simple steps, you can successfully install a wireless security camera system in your home and enjoy the peace of mind it provides.
Maintenance and Troubleshooting
The Importance of Regular Maintenance
Once you’ve installed your wireless security camera system, it’s important to keep up with regular maintenance to ensure it functions properly. One of the most important aspects of maintenance is cleaning the camera lenses regularly.
Over time, dust, dirt, and other debris can accumulate on the lenses and obscure the view. Regularly cleaning your camera lenses will help ensure that the video footage captured by your cameras is clear and sharp.
Cleaning Your Camera Lenses
Cleaning your camera lenses is a simple process that can be done with just a few basic tools. To start, you’ll need a microfiber cloth or lens cleaning paper and some lens cleaning solution. Begin by blowing off any loose dust or debris from the lens with a can of compressed air or a blower brush.
Next, apply a small amount of cleaning solution to your cloth or paper and gently wipe it across the surface of the lens in circular motions. Be careful not to press too hard or you could scratch the lens.
Troubleshooting Common Issues
Even with proper maintenance, there may be times when you encounter issues with your wireless security camera system. Some common issues include cameras going offline or failing to connect to Wi-Fi networks. If you experience these types of problems, there are several steps you can take to troubleshoot them.
First, check that all cables are securely connected and power sources are functioning properly. If everything appears to be in order but cameras still won’t connect, try resetting them by unplugging them for a few minutes and then plugging them back in again.
If resetting doesn’t work, check that your Wi-Fi network is functioning properly and has enough bandwidth for all connected devices. If necessary, consider upgrading your internet plan or investing in range extenders for better coverage.
Conclusion
Installing a wireless security camera system in your home can be a great way to improve security and peace of mind. While the installation process may seem daunting at first, following these steps and taking the time to properly maintain your system will help ensure that it functions properly for years to come. Remember, regular cleaning of your camera lenses is essential for maintaining clear video footage, and troubleshooting common issues such as offline cameras or connection problems can often be resolved with simple solutions like resetting or upgrading your Wi-Fi network.
Investing in a wireless security camera system is an investment in your home’s safety and well-being. By taking the time to install and maintain it properly, you can rest assured that you’re doing everything possible to keep your home and loved ones safe.


