Contents
The Importance of Security Cameras in Protecting Your Property
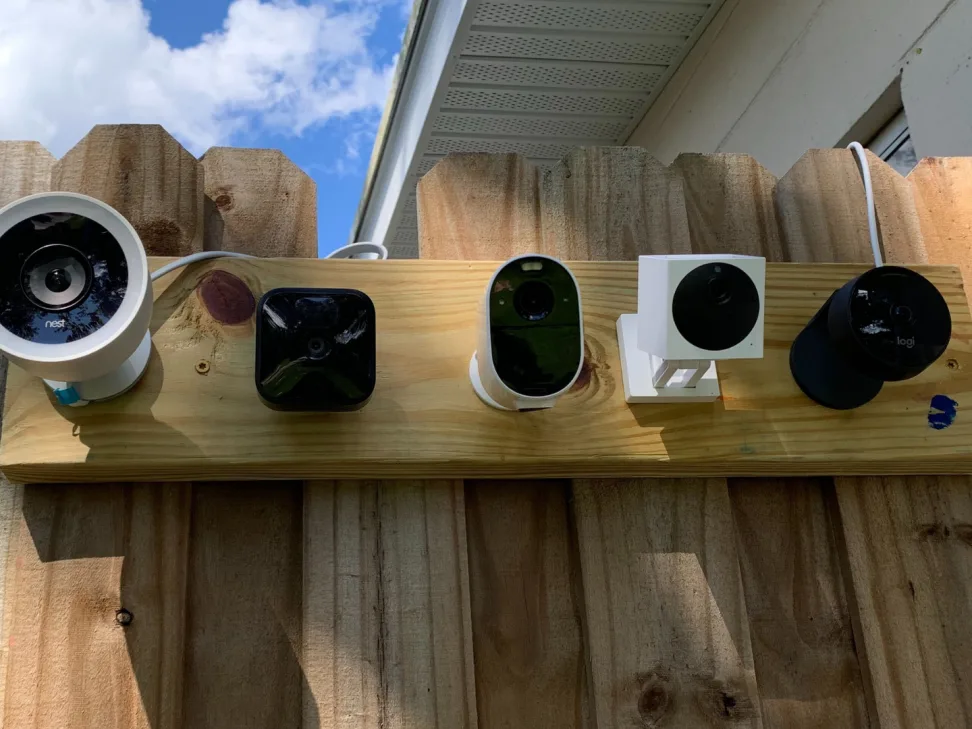
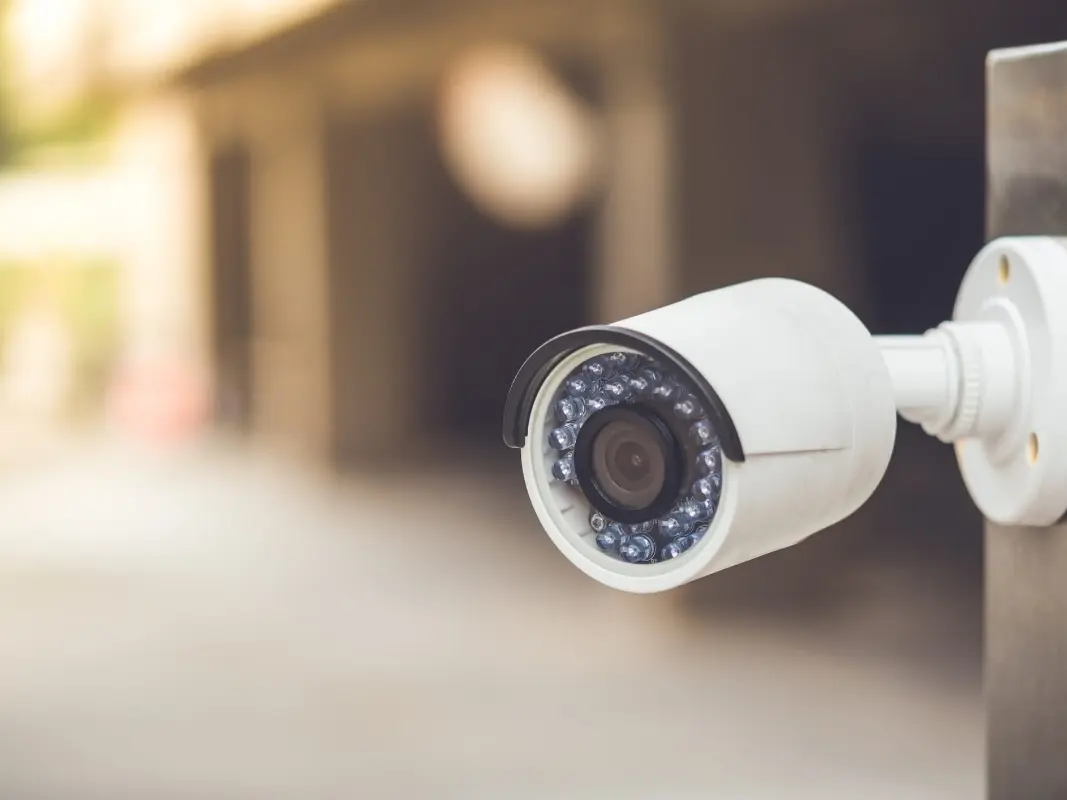
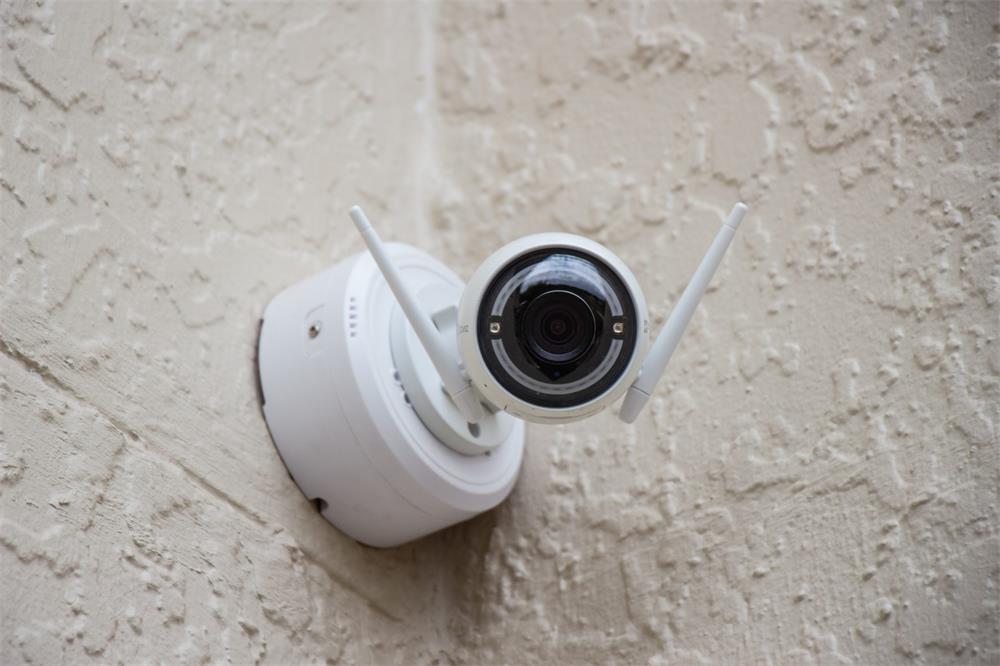
Security cameras are essential tools for protecting your property. With their ability to capture high-quality footage, they can help deter criminals and provide valuable evidence in the event of a break-in or theft. Whether you’re looking to keep an eye on your home while you’re away or monitor your business during off-hours, security cameras offer peace of mind and added security.
Not only do security cameras help prevent crime, but they can also provide valuable insight into what’s happening around your property. From monitoring employee behavior to keeping an eye on potential safety hazards, security cameras have a variety of uses beyond simply capturing footage of criminal activity.
Common Problems That May Arise with Security Cameras
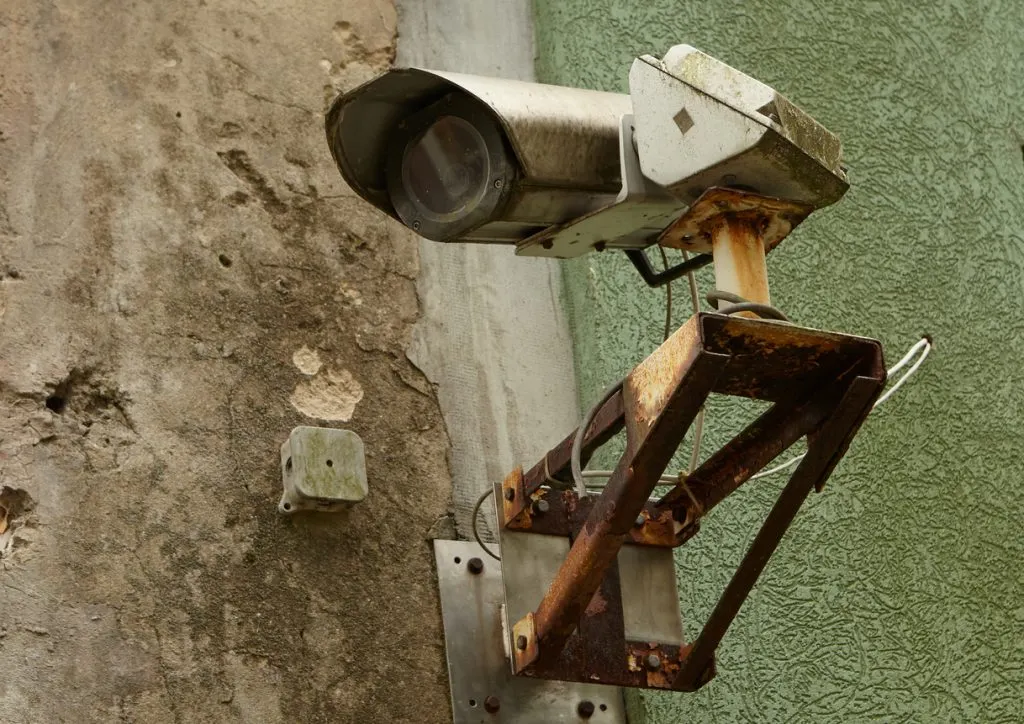
While security cameras are an important part of any comprehensive security system, they can be prone to a number of issues that may impact their effectiveness. Some common problems include: – Cameras not recording footage
– Poor image quality – Motion detection not working
– Night vision not working – Camera offline or disconnected from the network
These issues can arise due to a variety of factors, including incorrect settings, network connectivity problems, and physical obstructions. In order to ensure that your security cameras are operating effectively and providing the protection you need, it’s important to be aware of these potential issues and know how to troubleshoot them when they occur.
In the following sections, we’ll discuss some common problems with security cameras and provide tips for troubleshooting them effectively. By understanding these potential issues and knowing how to address them quickly and efficiently, you’ll be able to maintain a high level of protection for your property at all times.
Camera Not Recording Footage
Your security cameras are supposed to be constantly recording footage, but what do you do if they suddenly stop recording? There are several reasons why your cameras may not be recording, and we’ll go through each one in detail below.
Check Camera Settings and Storage Capacity
The first step to troubleshooting your camera’s inability to record is checking its settings. Ensure that the camera is set to record in the appropriate mode (continuous or motion detection) and that it has adequate storage capacity.
If you’re using a DVR or NVR system, check the hard drive space available. If it’s full, archive old footage or upgrade your storage device.
Ensure Proper Power Supply and Connectivity
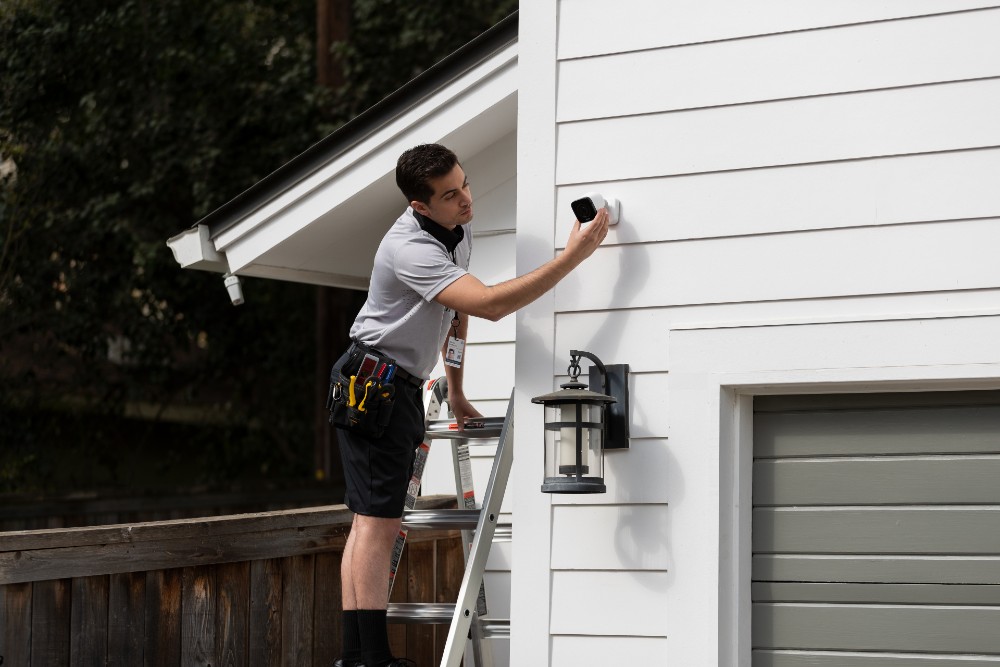
If your camera isn’t receiving sufficient power or isn’t connected properly to the network, it won’t be able to perform its intended functions. Check whether the power source is working correctly by unplugging it from the outlet and plugging it back in again. Verify that all of your cables are properly connected between the camera itself and any other devices that are part of your surveillance setup (such as a router).
Troubleshoot Network Issues
If you have confirmed that there is enough storage space on your device(s) & everything is correctly connected, then there may be a problem with network connectivity affecting how data flows between devices. The easiest way to test this connection is by pinging each device on the network with either their IP address or name from a command prompt. Ensure all devices can talk with each other & there’s no blockage of traffic.
Other Common Reasons for Camera Not Recording Footage:
- The power adapter for your camera may not be working correctly.
- Your camera is malfunctioning or broken.
- The system software for your security camera needs updating.
- Your cameras may have reached their storage capacity limitations.
- There may be a problem with the network connectivity affecting how data flows between devices.
By following these steps, you will be able to troubleshoot and figure out why your security cameras aren’t recording footage. In some cases, it might be as simple as replacing the power adapter or clearing up storage space. But if there are deeper issues that can’t be resolved easily, don’t hesitate to contact a professional for help.
Poor Image Quality
Adjust Camera Focus and Angle
Are you experiencing a blurry image on your security cameras? One possible reason could be that the camera’s focus is not properly adjusted. You can try adjusting the focus to get a clearer image.
Most security cameras come with an adjustable lens that allows you to manually focus on the areas that need monitoring. If your camera comes with auto-focus, check if it’s enabled.
Adjusting the angle of the camera can also help improve image quality. Make sure you’re able to capture what you want and avoid capturing unnecessary things like trees or walls.
Clean the Lens
A dirty lens can also cause poor image quality. Dirt, dust, fingerprints or smudges can accumulate over time causing images to appear hazy or distorted. Use a microfiber cloth or lens cleaning solution to clean the lens of your security camera regularly.
Check Lighting Conditions
Lighting conditions can greatly affect image quality, especially for cameras without night vision capability. If your camera is located in an area with too much light (e.g., direct sunlight), it may cause overexposure resulting in washed out images. On the other hand, if there’s not enough light, images may appear dark and difficult to identify.
You can adjust your camera’s exposure settings according to lighting conditions in order to achieve better image quality. In some cases, adding artificial lighting like floodlights or motion sensor lights may be necessary for outdoor cameras that are exposed to darkness once daylight fades.
Final Thoughts
Image quality is crucial when it comes to security cameras as clear footage helps improve identification and tracking of intruders or suspicious activities around your property. Adjusting focus and angle settings along with cleaning lenses should be done regularly for optimal performance of your security system at all times . Checking for adequate lighting conditions is also essential for ensuring that images captured by your security camera are clear and of high quality.
Motion Detection Not Working
Adjust Motion Detection Settings
One of the most common problems with security cameras is motion detection that is either too sensitive or not sensitive enough. If you’re experiencing this issue, the first thing you should do is adjust the motion detection settings on your camera. Most security cameras come with built-in software that allows you to adjust the sensitivity, threshold, and other settings related to motion detection.
Try tweaking these settings until they are just right for your environment. Keep in mind that every environment is different, so what works for one person might not work for another.
Check for Obstructions in Camera View
If your camera’s motion detection still isn’t working properly after adjusting the settings, it’s possible that there may be an obstruction blocking the camera’s view. This could be anything from a tree branch to a birdhouse.
Walk around your property and check for any objects that might be obstructing your camera’s view. Once you’ve cleared any obstructions, try testing your camera’s motion detection again.
Ensure Proper Placement of Camera
Another factor affecting your security camera’s ability to detect motion could be its placement. Make sure to place your security camera in an area where it has an unobstructed view of the area you want it to monitor.
If there are too many obstacles in its line of sight or if it’s positioned incorrectly, then the camera may not be able to detect motion as effectively as it should. Also look at where people may enter or leave each room or pathway; this can help determine whether placing a single surveillance system at one end of a hallway will capture everything happening on video.
Find Answers with Your Camera Manual and Manufacturer Support
If all else fails and you still can’t get your security camera’s motion detection working properly, consult your camera manual or contact the manufacturer’s customer support team. They may be able to offer additional guidance or provide assistance with troubleshooting more complex issues.
Night Vision Not Working
Check if Night Vision Mode is Enabled
One common issue that many people face with their security cameras is that the night vision function may not be working properly. Firstly, it is important to check if the night vision mode is enabled on the camera.
Most cameras have a setting that automatically switches to night vision mode when it detects low lighting conditions. However, this setting may sometimes get turned off or malfunction.
To check if your camera’s night vision mode is enabled, go into your camera’s settings and look for an option called “Night Vision” or “Infrared”. Make sure that this feature is turned on and set to automatic, so that it can detect and switch to night vision when it’s dark.
Ensure Adequate Lighting in the Area
Another reason why your security camera’s night vision may not be working could be due to insufficient lighting in the area. Night vision relies on infrared technology to detect and capture footage in low light. If there isn’t enough light in the area, then the camera may not be able to capture clear images.
To solve this issue, try adding additional lighting sources such as outdoor lights or motion-sensor lights. This will help improve visibility for both you and your security camera by providing more illumination in areas where there was previously too little light.
Clean the Lens
A dirty lens can also cause issues with the quality of your footage at night time. The lens of a security camera can easily accumulate dust, dirt and grime over time which can cause glare or blur images at nighttime especially when using night vision mode.
To clean your lens, use a microfiber cloth or optical cleaning solution specifically designed for cameras lenses. Do not use paper towels or regular cleaning solutions as these can scratch and damage your lens causing permanent damage over time.
Conclusion
If you’re experiencing issues with your security camera’s night vision mode, firstly check that the feature is enabled in your camera settings. Next, make sure that there is adequate lighting in the area and finally clean the lens of your camera to improve performance. If none of these solutions work, it may be necessary to contact technical support or a professional in order to further diagnose and solve more complex issues.
Camera Offline or Disconnected from Network
The Frustration of a Disconnected Camera
One of the most frustrating issues you may encounter with your security cameras is when they go offline or disconnect from the network. This can happen for various reasons, such as power outages, internet connectivity issues, or even firmware glitches. Whatever the reason may be, it’s important to troubleshoot these problems as quickly and effectively as possible.
The first step in resolving this issue is to restart both your camera and router/modem. This can be done by simply unplugging them from their power sources for 30 seconds and then plugging them back in.
Wait a few minutes for them to reboot and reconnect to the network. If that doesn’t work, you may need to perform further troubleshooting steps.
Check if there are any firmware updates available for your camera, as updating it could potentially resolve any connectivity issues. You should also check if there are any firewall settings that may be blocking the camera’s connection to the network.
Troubleshoot Network Connectivity Issues
If restarting your camera and router/modem didn’t solve the problem, then it’s time to troubleshoot your network connectivity issues further. Start by checking if other devices connected to your network are working properly – including laptops, smartphones, tablets – and whether they are experiencing similar connection problems. If multiple devices are experiencing connectivity issues on your home network, try resetting your router/modem again or contacting your Internet Service Provider (ISP) for assistance.
Another thing you can try is moving your wireless router/modem closer to where the cameras are installed or vice versa. Sometimes obstacles such as walls or interference from other electronic devices can weaken Wi-Fi signals affecting camera performance.
Troubleshooting a disconnected security camera requires patience and persistence but following these steps should get you up and running in no time! If the problem persists, do not hesitate to contact your camera manufacturer or IT specialist to assist you further.
Conclusion
After going through the various common problems that can arise with your security cameras, you are now more equipped to troubleshoot and resolve them. Remember, it is important to regularly maintain your security cameras by cleaning the lenses, checking the power supply and connectivity, and ensuring adequate lighting conditions. If your camera is not recording footage, check its settings, storage capacity, power supply and network connectivity.
Adjust camera focus and angle as well if necessary. If motion detection is not working properly or if you are experiencing poor image quality or night vision issues, adjust the settings accordingly.
Check for obstructions in the camera view as well. Restarting the camera and router/modem can often fix issues with a disconnected or offline camera.
When all else fails, consult with technical support or seek professional help for complex issues. By following these troubleshooting steps and having regular maintenance checks on your security cameras, you can ensure that they function optimally at all times.
Don’t let technical difficulties prevent you from having peace of mind when it comes to protecting your property. Remember: a little bit of effort towards regular maintenance goes a long way in keeping your security cameras functioning optimally!